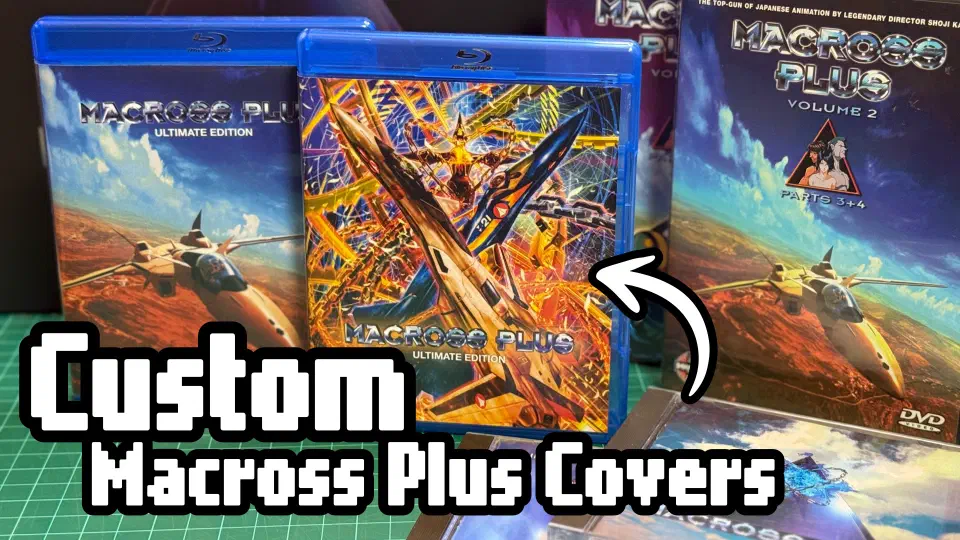

A Smaller Home for Macross Plus Blu-ray Discs
The Macross Plus Ultimate Edition comes in a big, beautiful, vinyl LP-sized box with an art book. The discs are mounted inside the book and getting them in and out was more difficult than I wanted it to be.
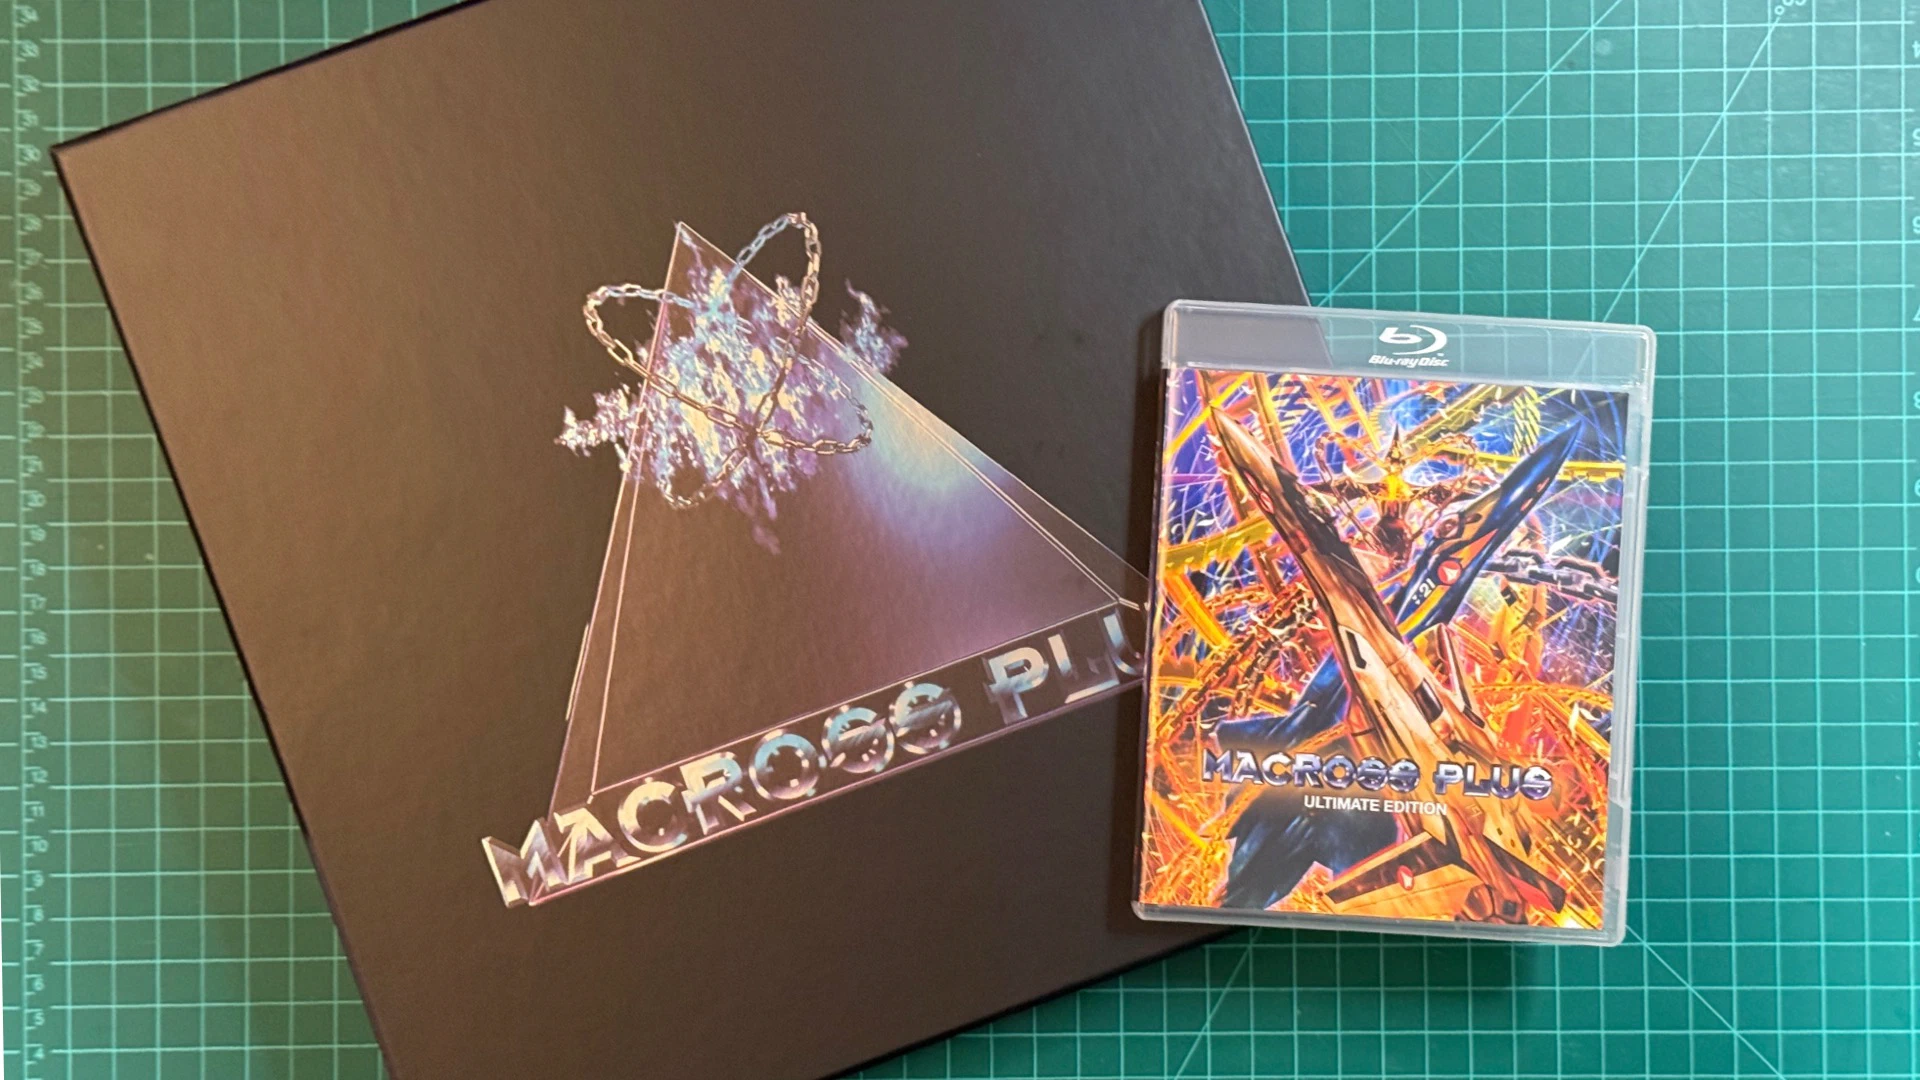
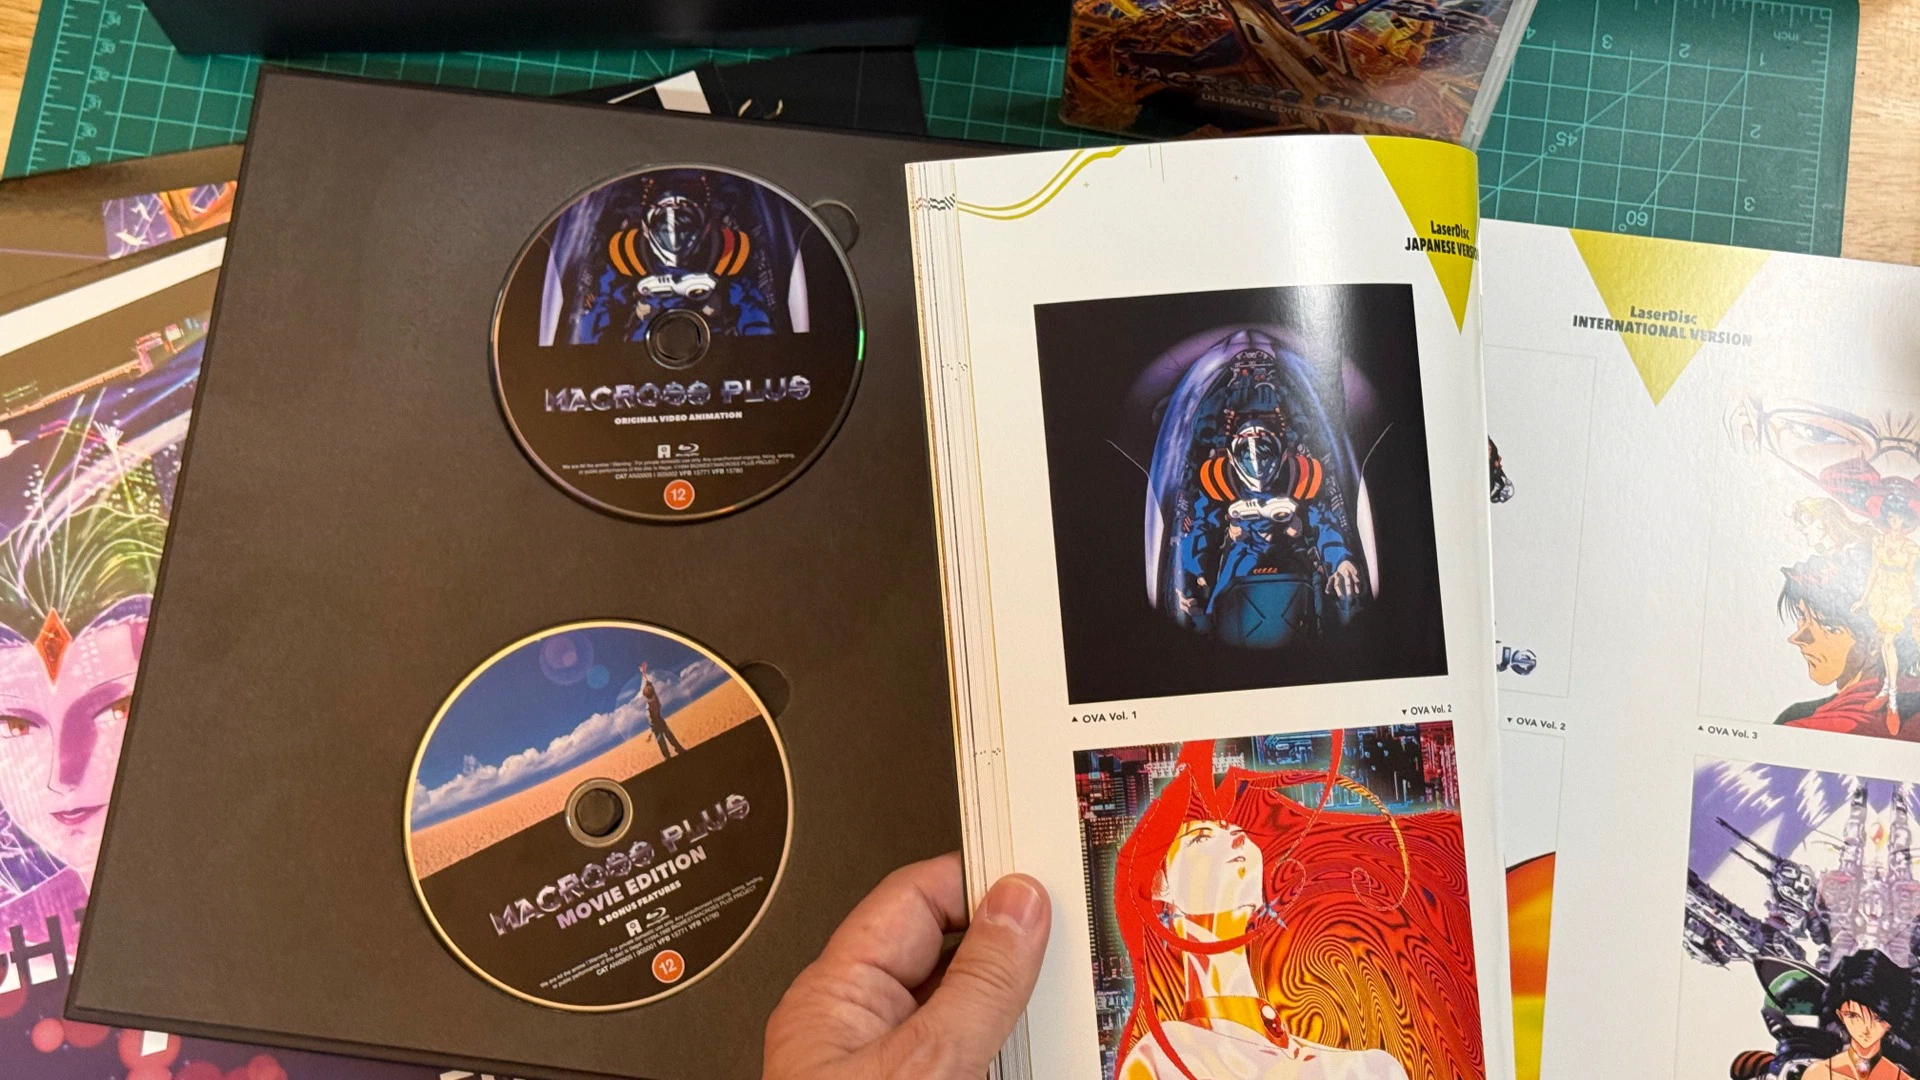
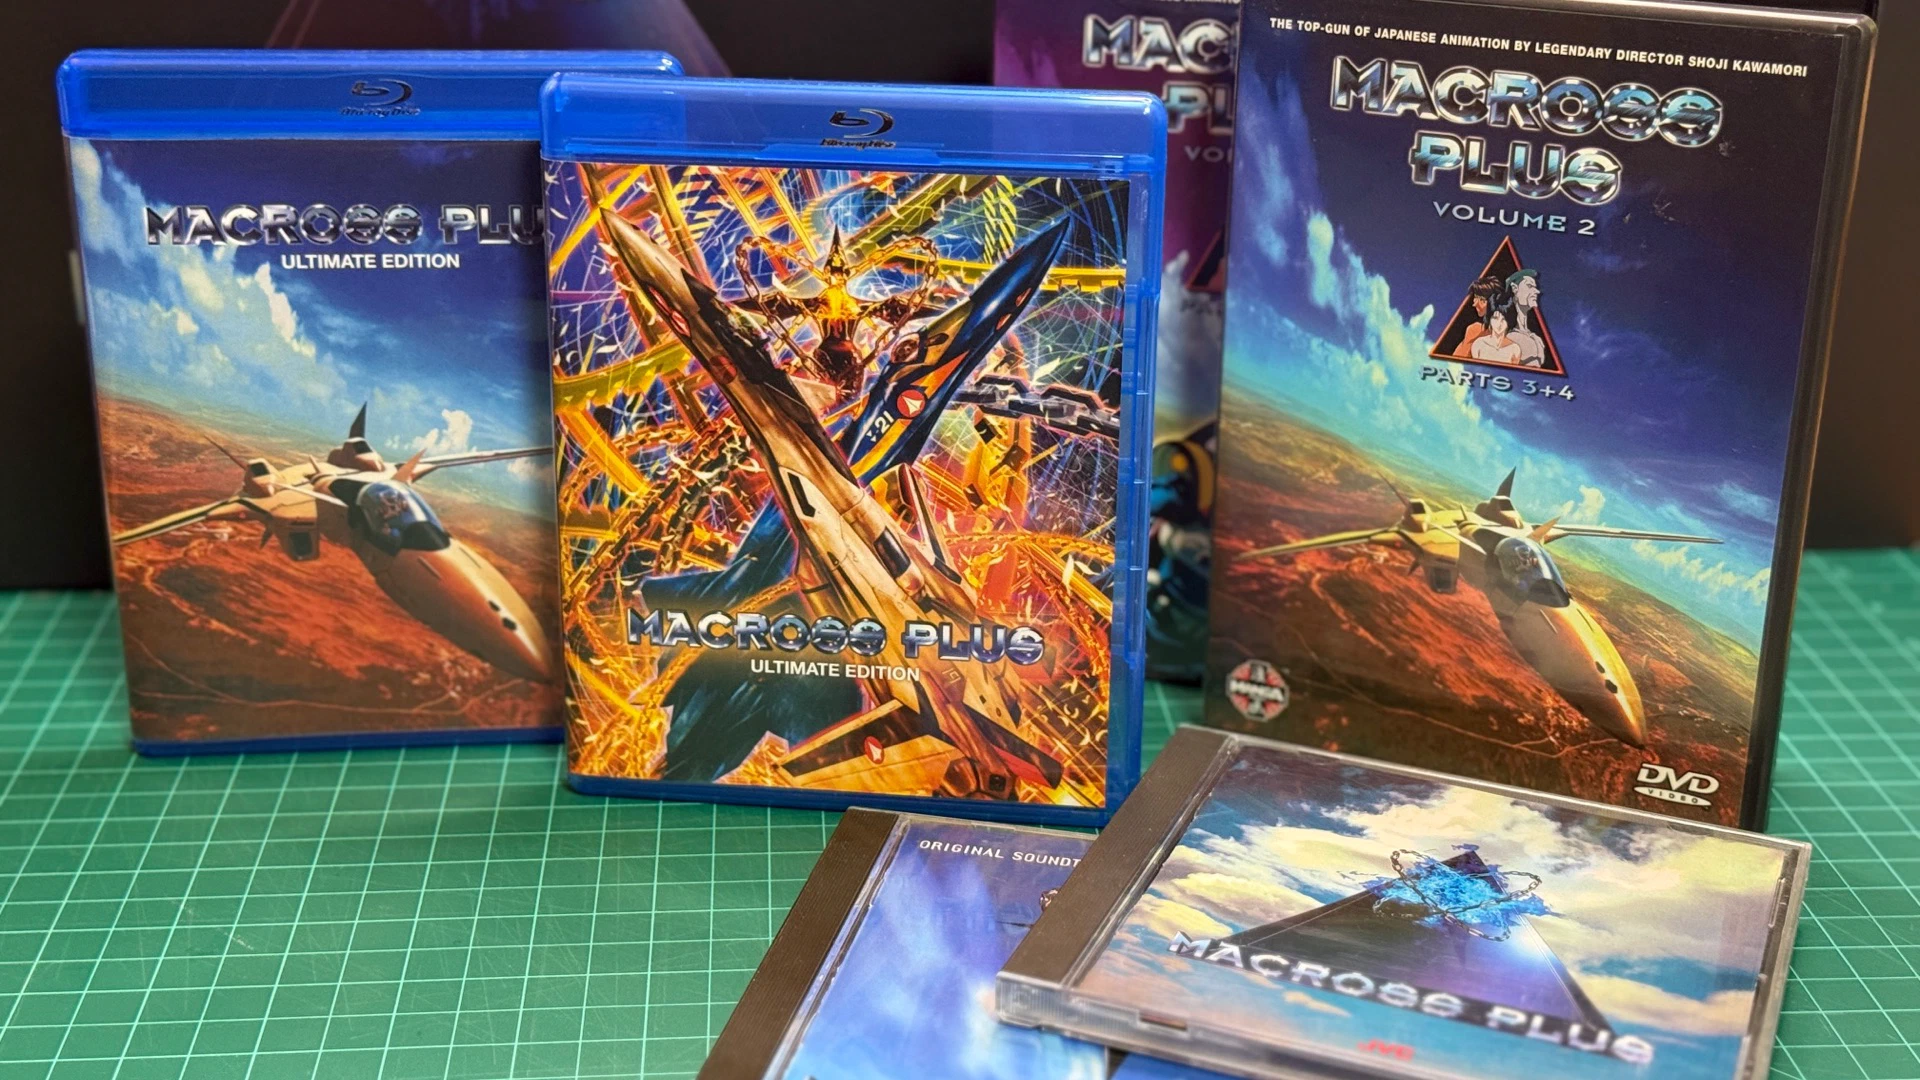
I moved the discs into a standard 2-disc, 12mm Blu-ray case and made a custom cover for it. Now I can grab the discs without digging through the big box, and the case fits on the shelf with the rest of my collection.
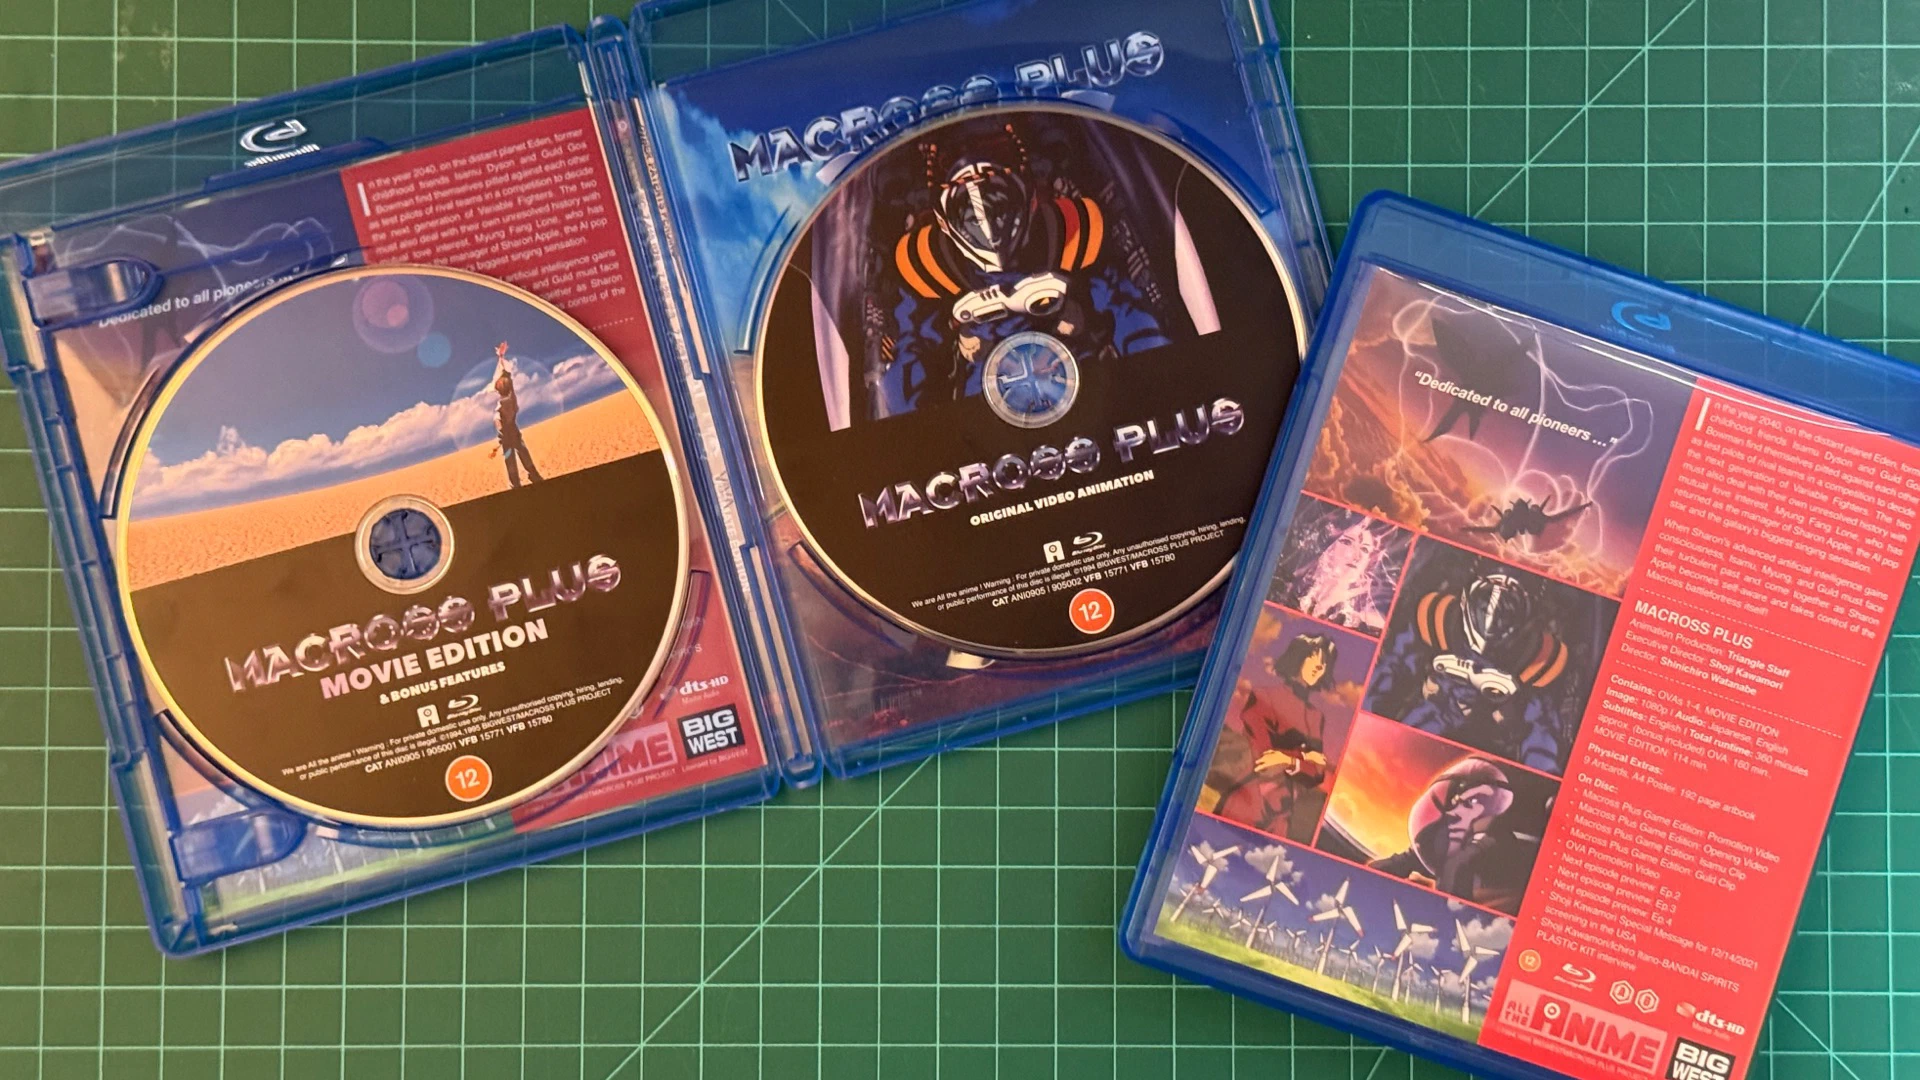
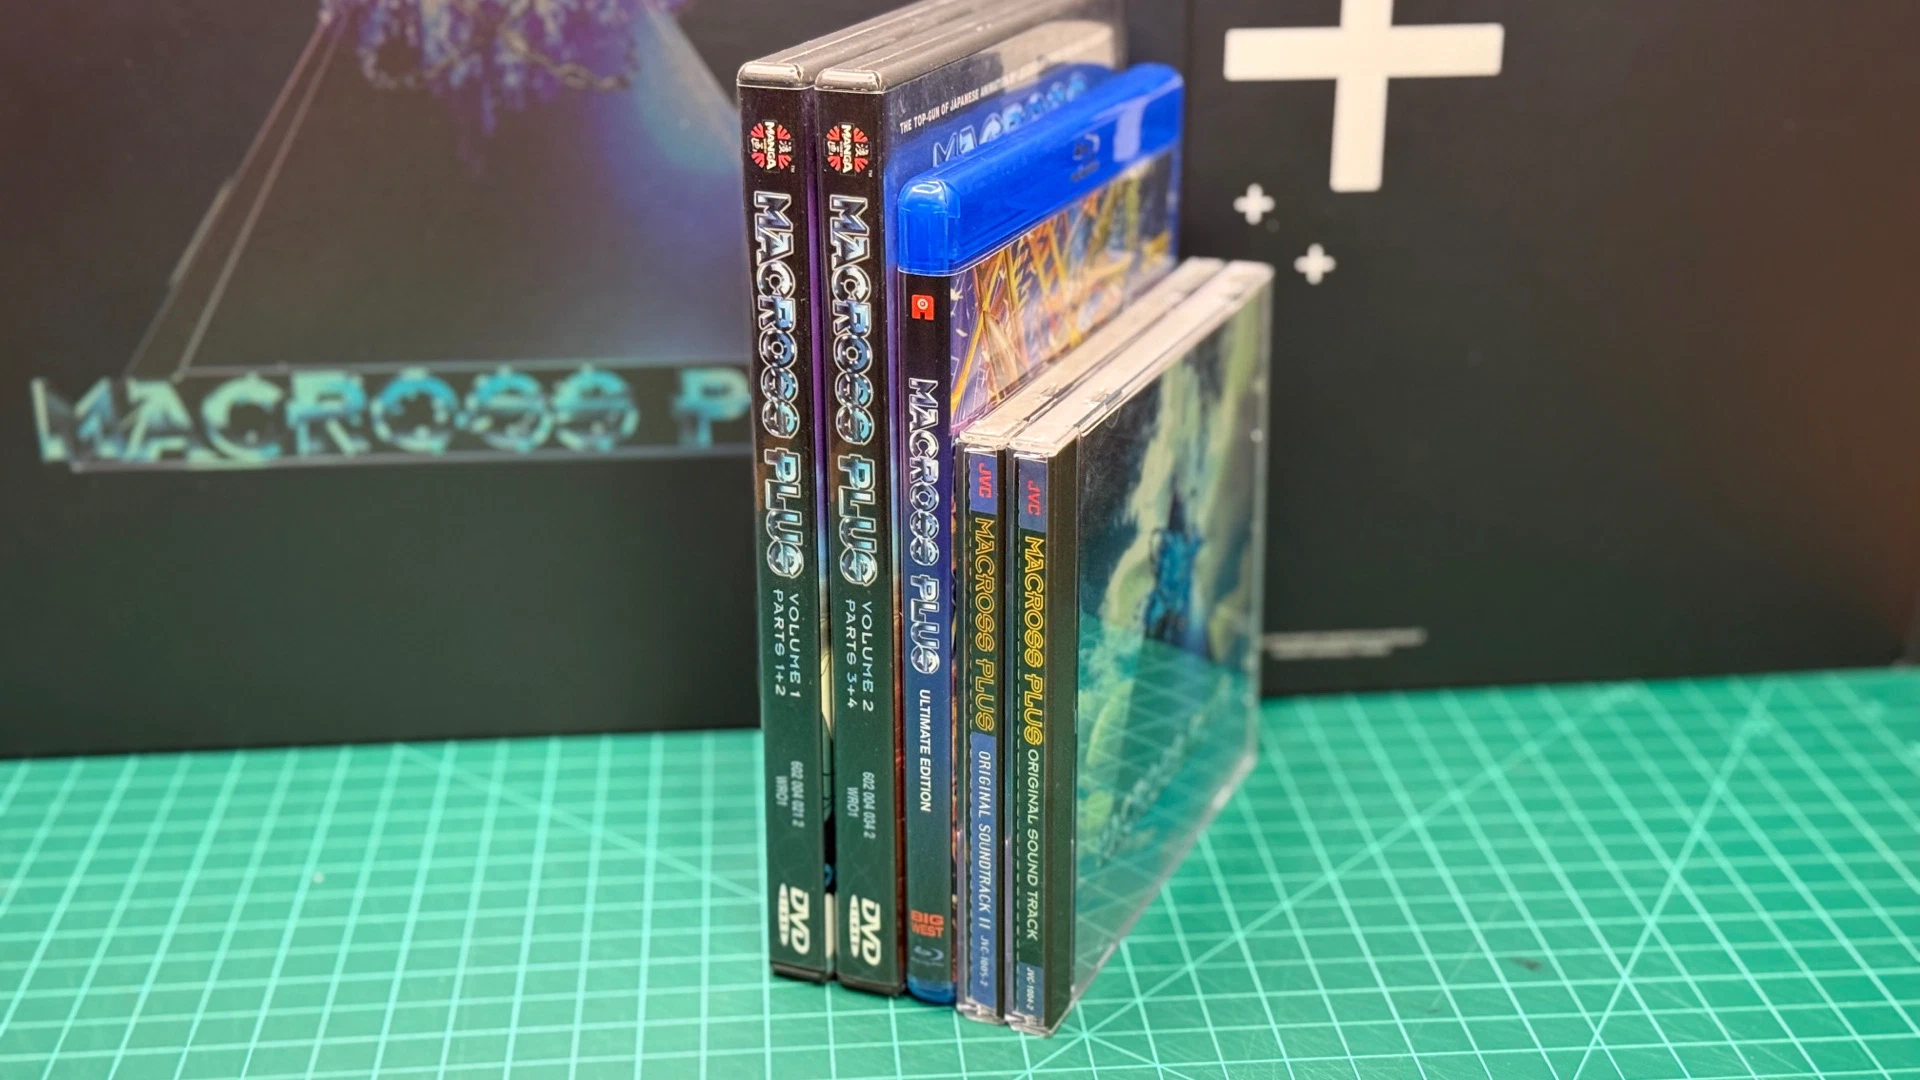
I made two versions of the cover. You can print whichever one you prefer, or print them double sided to make a reversible cover. Best of both!
Art used in this design is from the Ultimate Edition print materials and screenshots from the series. The back cover is based on the backing sheet of the box set.
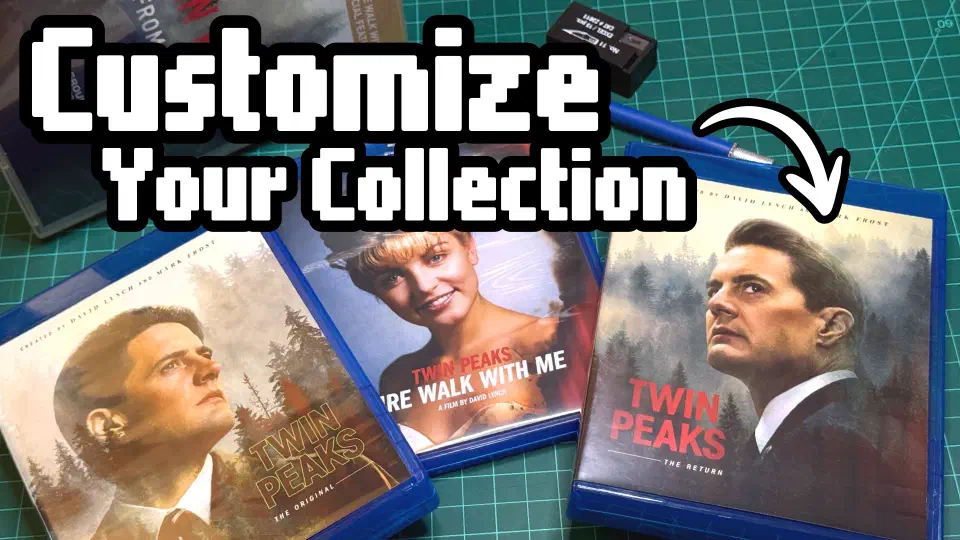
Customize Your Physical Media Collection
I turned a dull Twin Peaks set into something unique and my own.
Download the Cover
Download Macross Plus Ultimate Edition: Custom Blu-ray Cover
Includes two cover designs for a 2-disc, 12mm Blu-ray case.
What’s in the File
| Detail | Specification |
|---|---|
| Format | PDF, ready to print |
| Designs | Two versions; print double sided for a reversible cover |
| Color | CMYK |
| Resolution | 300 dpi |
| Includes | Bleed and cut marks |
| Fits | 2-disc, 12mm Blu-ray case |
| Paper size | Legal or larger |
What You’ll Need
- The cover PDF
- A print of the PDF
- A cutting mat
- A metal ruler
- An X-Acto knife or utility knife
- A 2-disc, 12mm Blu-ray case
Printing Instructions
Print at actual size (100%) on Legal size paper or larger.
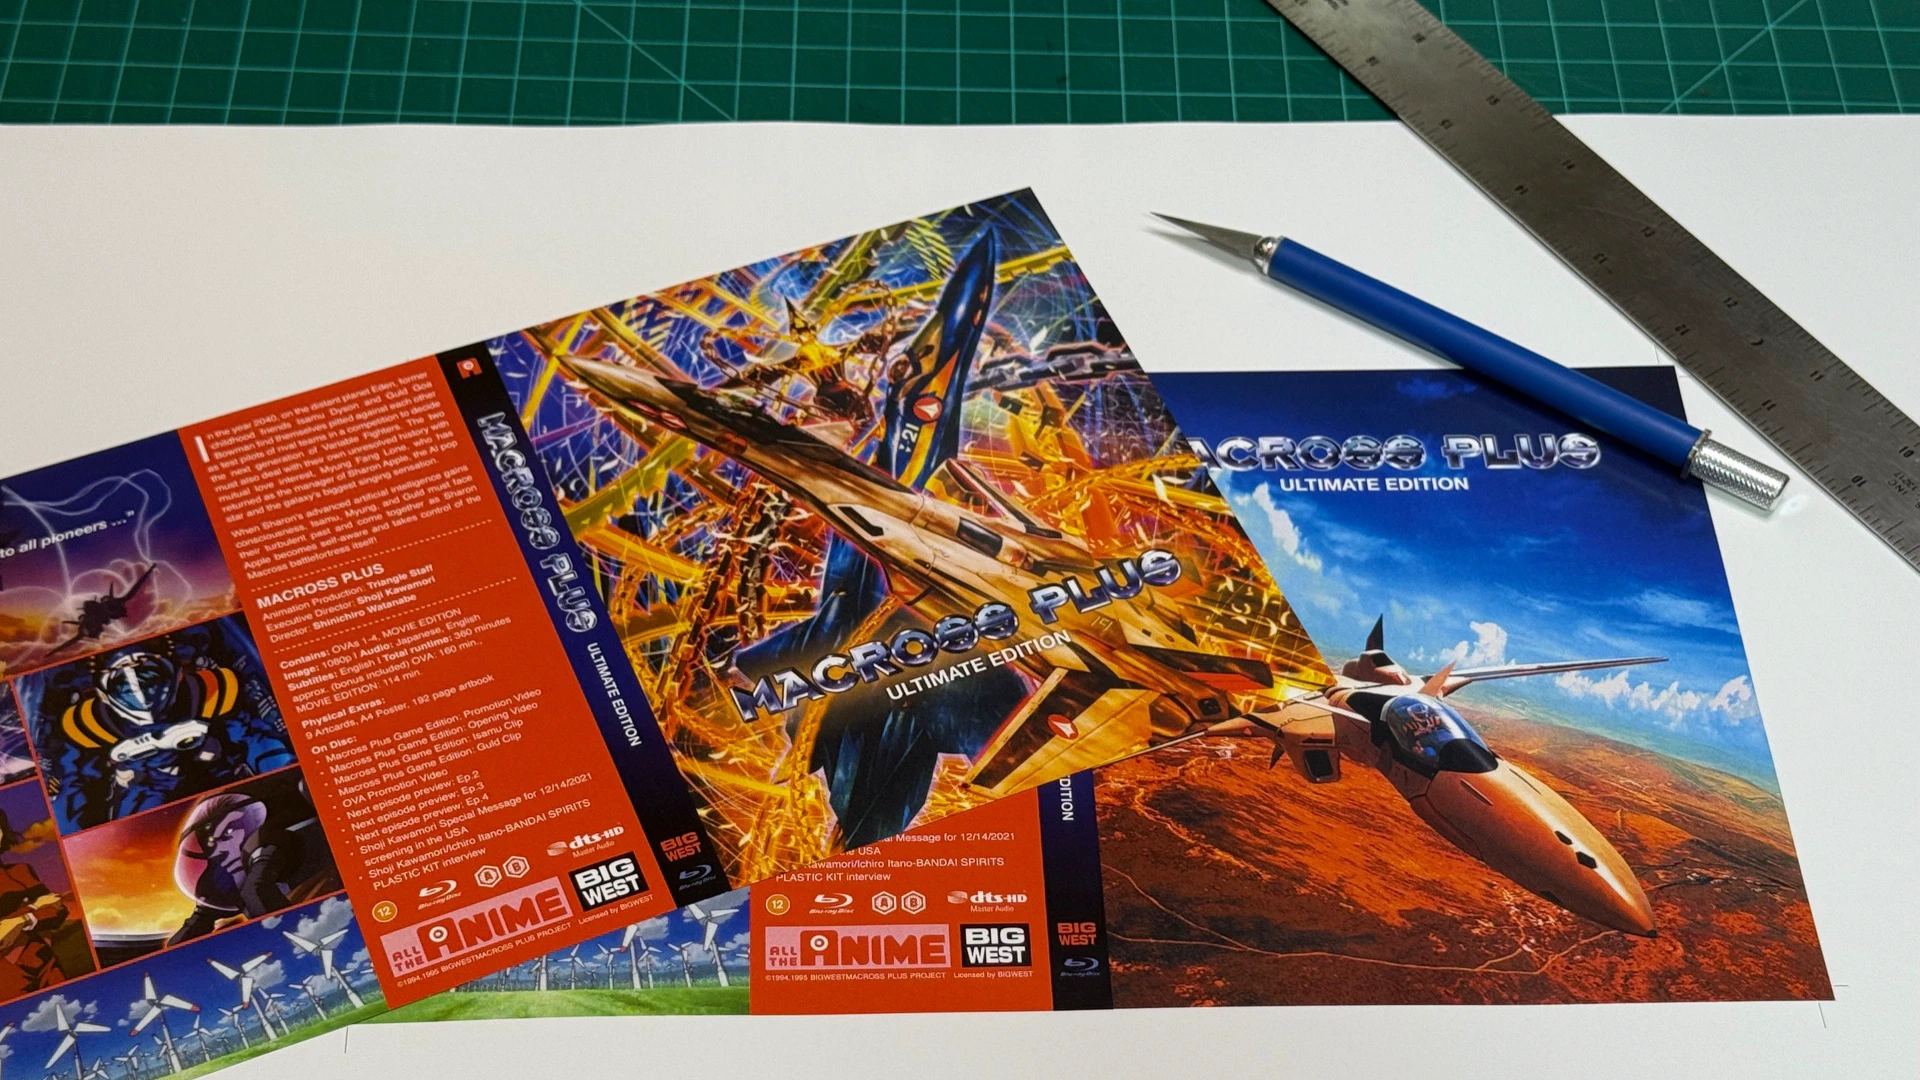
Make a test print before committing to your final paper. The template is based on an average case brand, and yours might need a small adjustment.
For a reversible cover, print one design on each side of the same sheet. Check that both sides face the same way and that the cut marks line up before making your final print. If they’re slightly off, cut along the marks for your preferred design. The other side may end up a little uneven, depending on how well your printer aligns double-sided prints.
If you’re using a print shop, like FedEx, ask to see paper samples before they print. Glossy paper makes a difference to how the colors look. If you’re printing both sides, make sure the paper is suitable for double-sided printing.
Cutting Instructions
- Place the print on a cutting mat.
- Align your ruler with the cut marks at the corners (the little black marks).
- Using the knife, cut along the ruler in one smooth pass. Keep the ruler as straight as you can and use some pressure.
- Repeat for each side until the cover is cut to size.
Tips
- Hold the ruler down firmly so it can’t slip while you cut.
- One confident pass is better than several hesitant ones. Re-cutting the same line tends to leave a ragged edge.
- Keep your blade sharp. A dull blade tears paper instead of slicing it.
- Cut with the blade on the outside of the ruler, so a slip doesn’t land on the cover itself.
- Watch your fingertips!
Assembly Instructions
Open the case and insert the cut cover into the clear outer sleeve, making sure it’s a case with the matching 12mm spine. Choose which design you want facing out if you printed both sides. Close the case, put the discs inside, and you’re done.
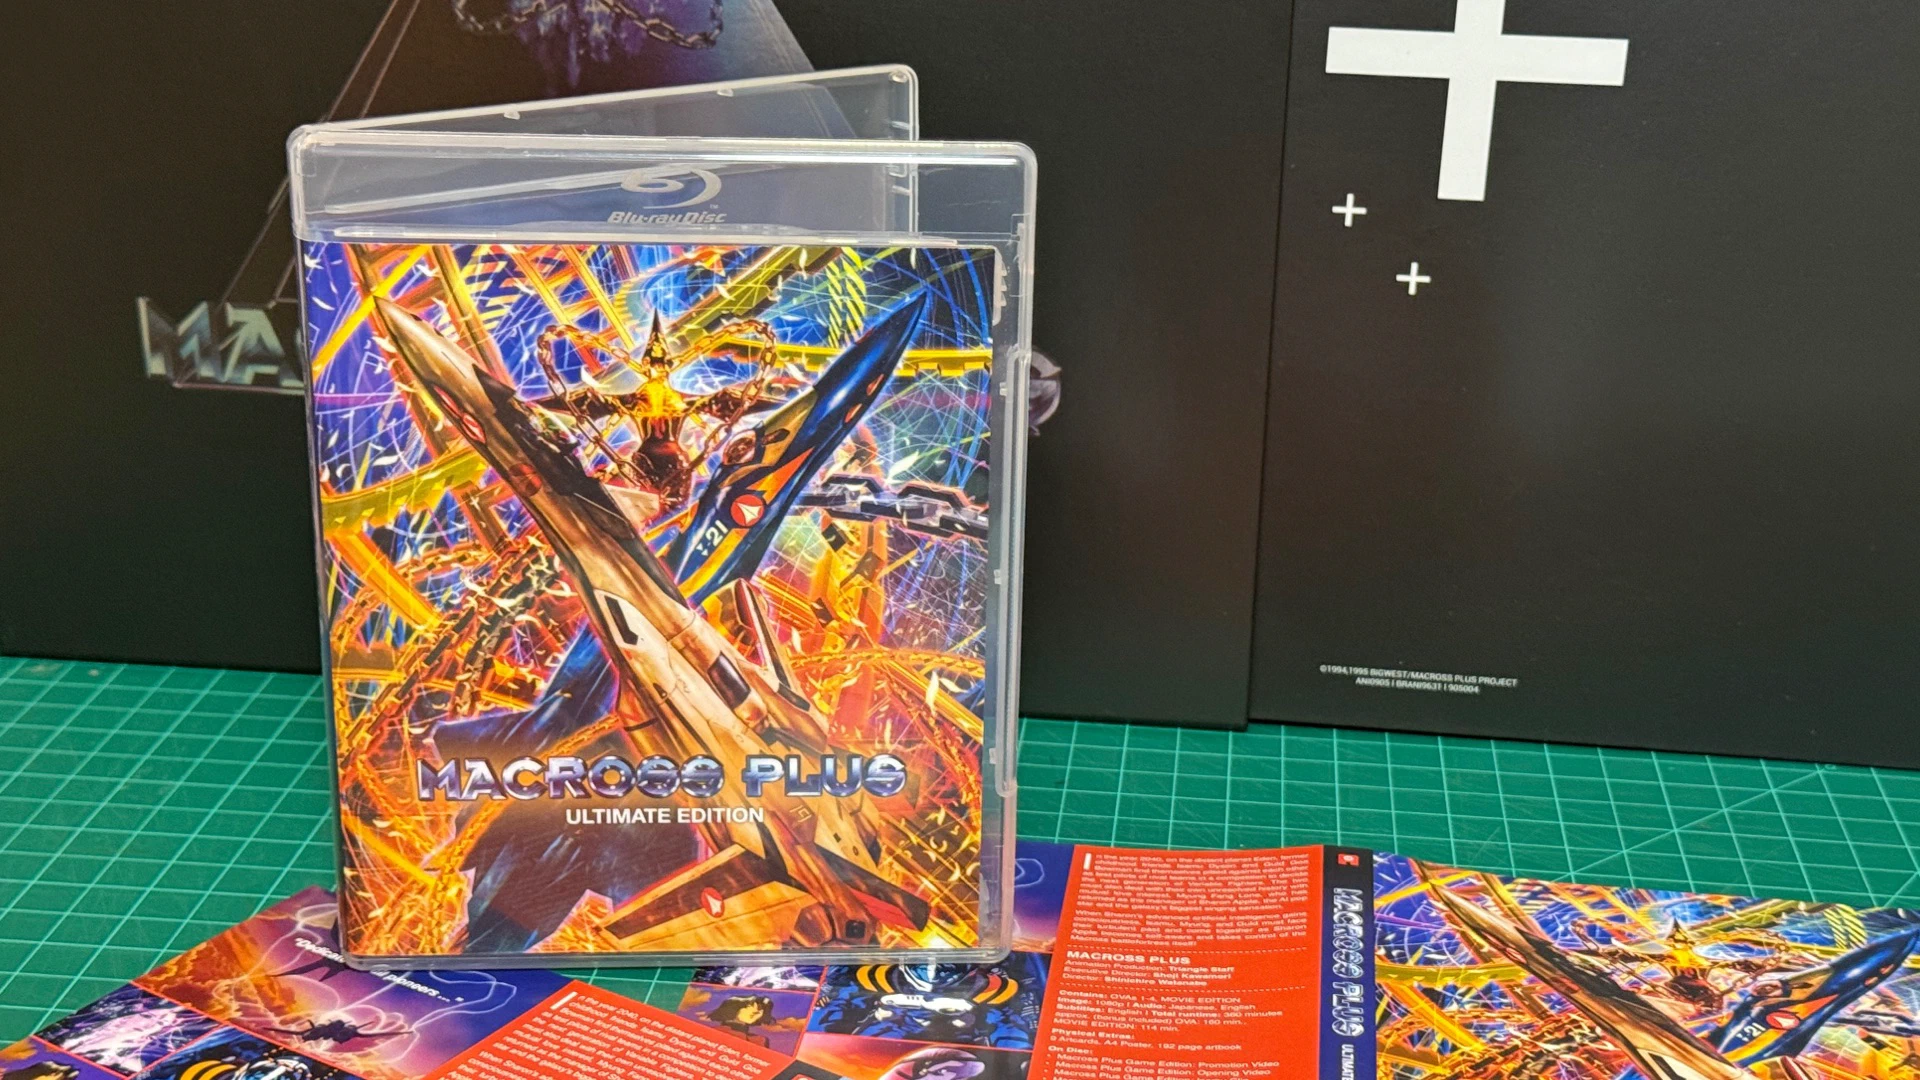
If the paper is a little warped, you may need to trim the left and right sides a little more so it fits your case. Case brands all have some variation to them. You may have to adjust for yours.
These are suggestions for getting the best results, not rules. Feel free to use your own preferred method, paper, and tools.
Made with Affinity
I created these covers using Affinity, a free alternative to Adobe’s design software. I also put together a 12mm Blu-ray case template for Affinity using the measurements from this project, so you can use it as a starting point for your own covers.
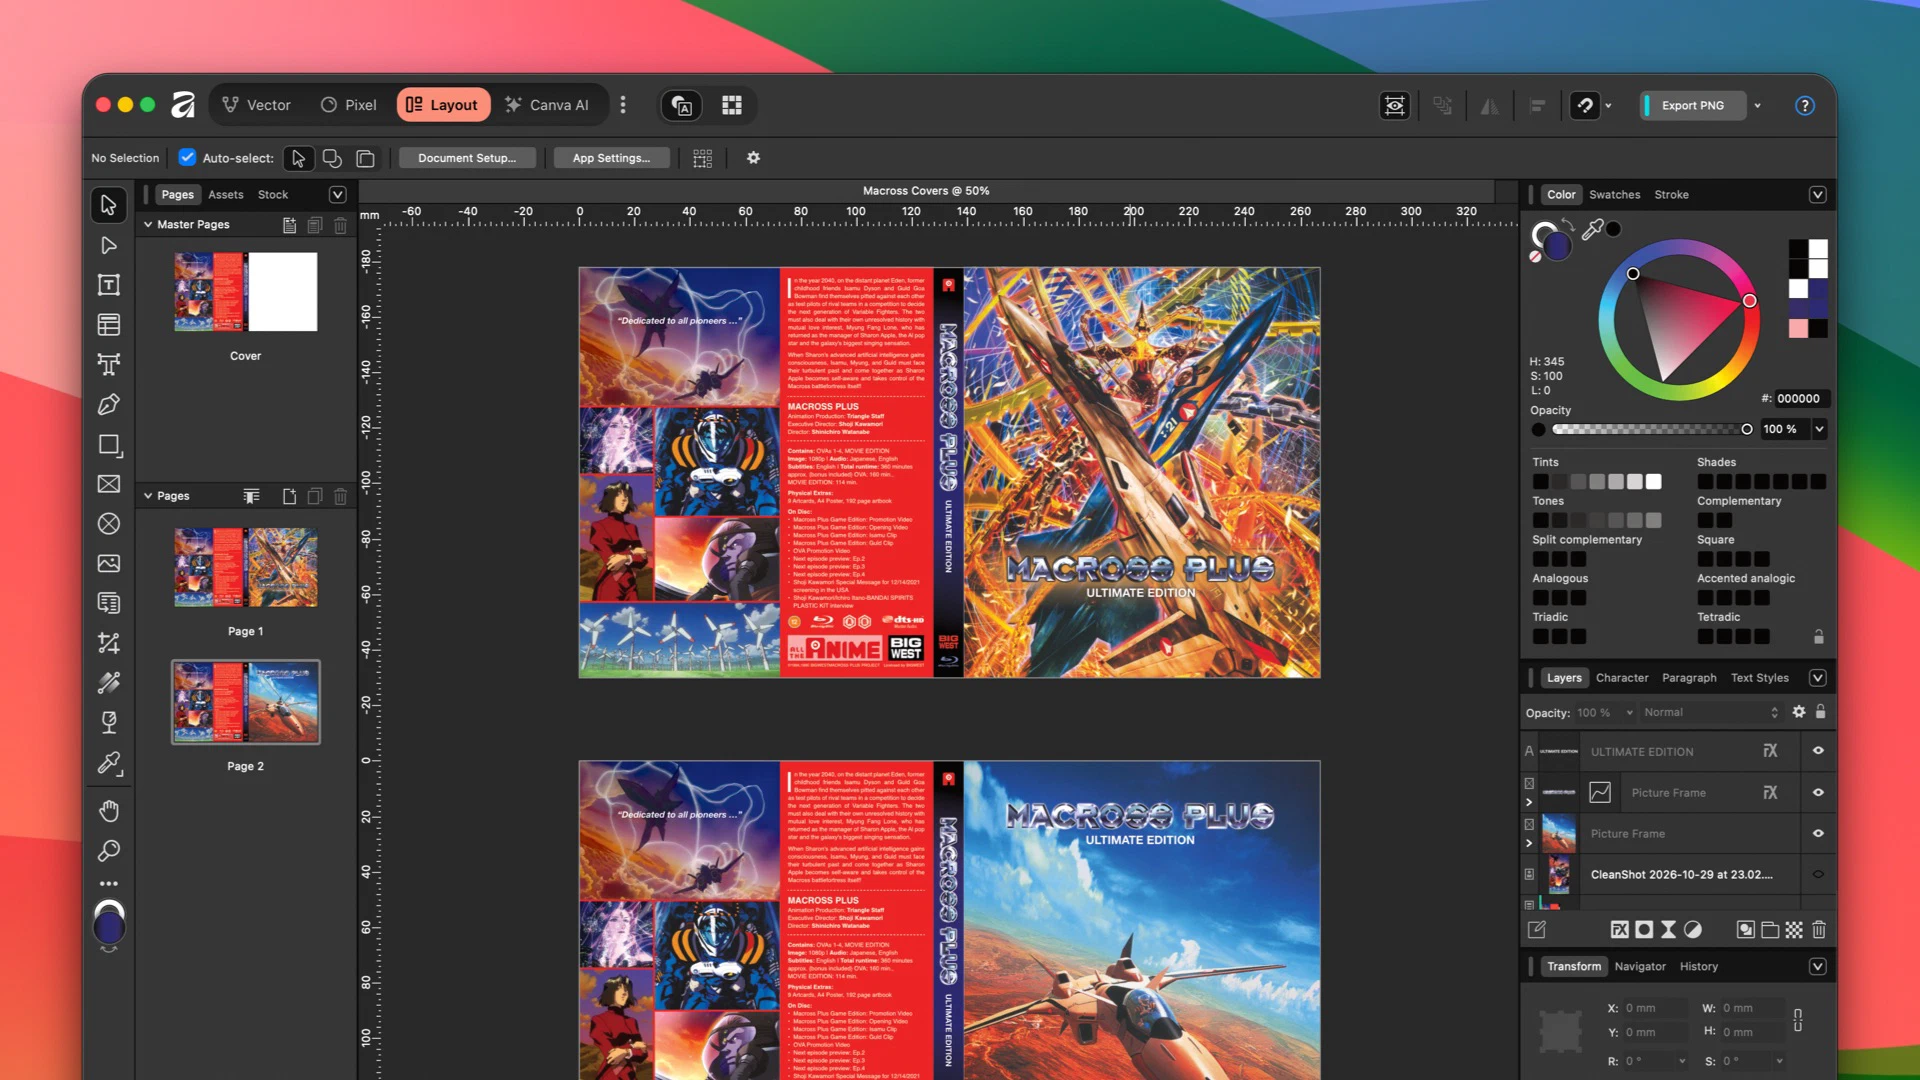
Download 12mm Blu-ray Case Template for Affinity
Based on the measurements used for 12mm thick Blu-ray cases.



Start the conversation