The GunCon Itch
I got the itch to play some PS1 and PS2 light gun games lately, but that requires a CRT for the GunCon to work. I could emulate Playstation light gun games and use a mouse, but that just isn’t the same experience.
There are some other light gun options out there that will let you play Playstation GunCon games on a modern flat panel TV, but I’m not keen on buying an expensive thing like a Sinden Light Gun (PC/Raspberry Pi/MiSTer games) or the Time Breaker Light Gun (PS1/PS2). I don’t play these games often enough to justify the cost.
The Wii Remote is Basically a Light Gun
I have a ton of Wii Remotes lying around, but Wii Remotes don’t really work with Windows 11. If your Bluetooth adaptor is compatible they’ll often work just fine through Dolphin (Wii emulator), but I’m using DuckStation (PS1) and PCSX2 (PS2) for GunCon and GunCon2 games.
The Dolphinbar
While searching for a Wii Remote solution, I came across a plug-n-play Wii light bar for Windows that has built-in Bluetooth and can connect up to 4 Wii Remotes. It auto maps the Wii Remote pointer to a mouse cursor and maps some basic mouse/keyboard keys to the buttons.
It works, but it’s jittery and the buttons can’t be remapped. Buttons 1 and 2 are mapped to volume keys and every time I go to pop out of cover in Time Crisis I’d turn the volume up!
Gunmote, the Windows Wii Remote Toolbox
I was about to give up when I found some software called Gunmote. It enables the option to program the buttons and it fixes the jitter. I set up a profile to emulate a mouse and keyboard and map Wii Remote and Nunchuck buttons to them.
Gunmote even has separate button mapping options for when the Wii Remote is pointing off screen, allowing for even more customization options.
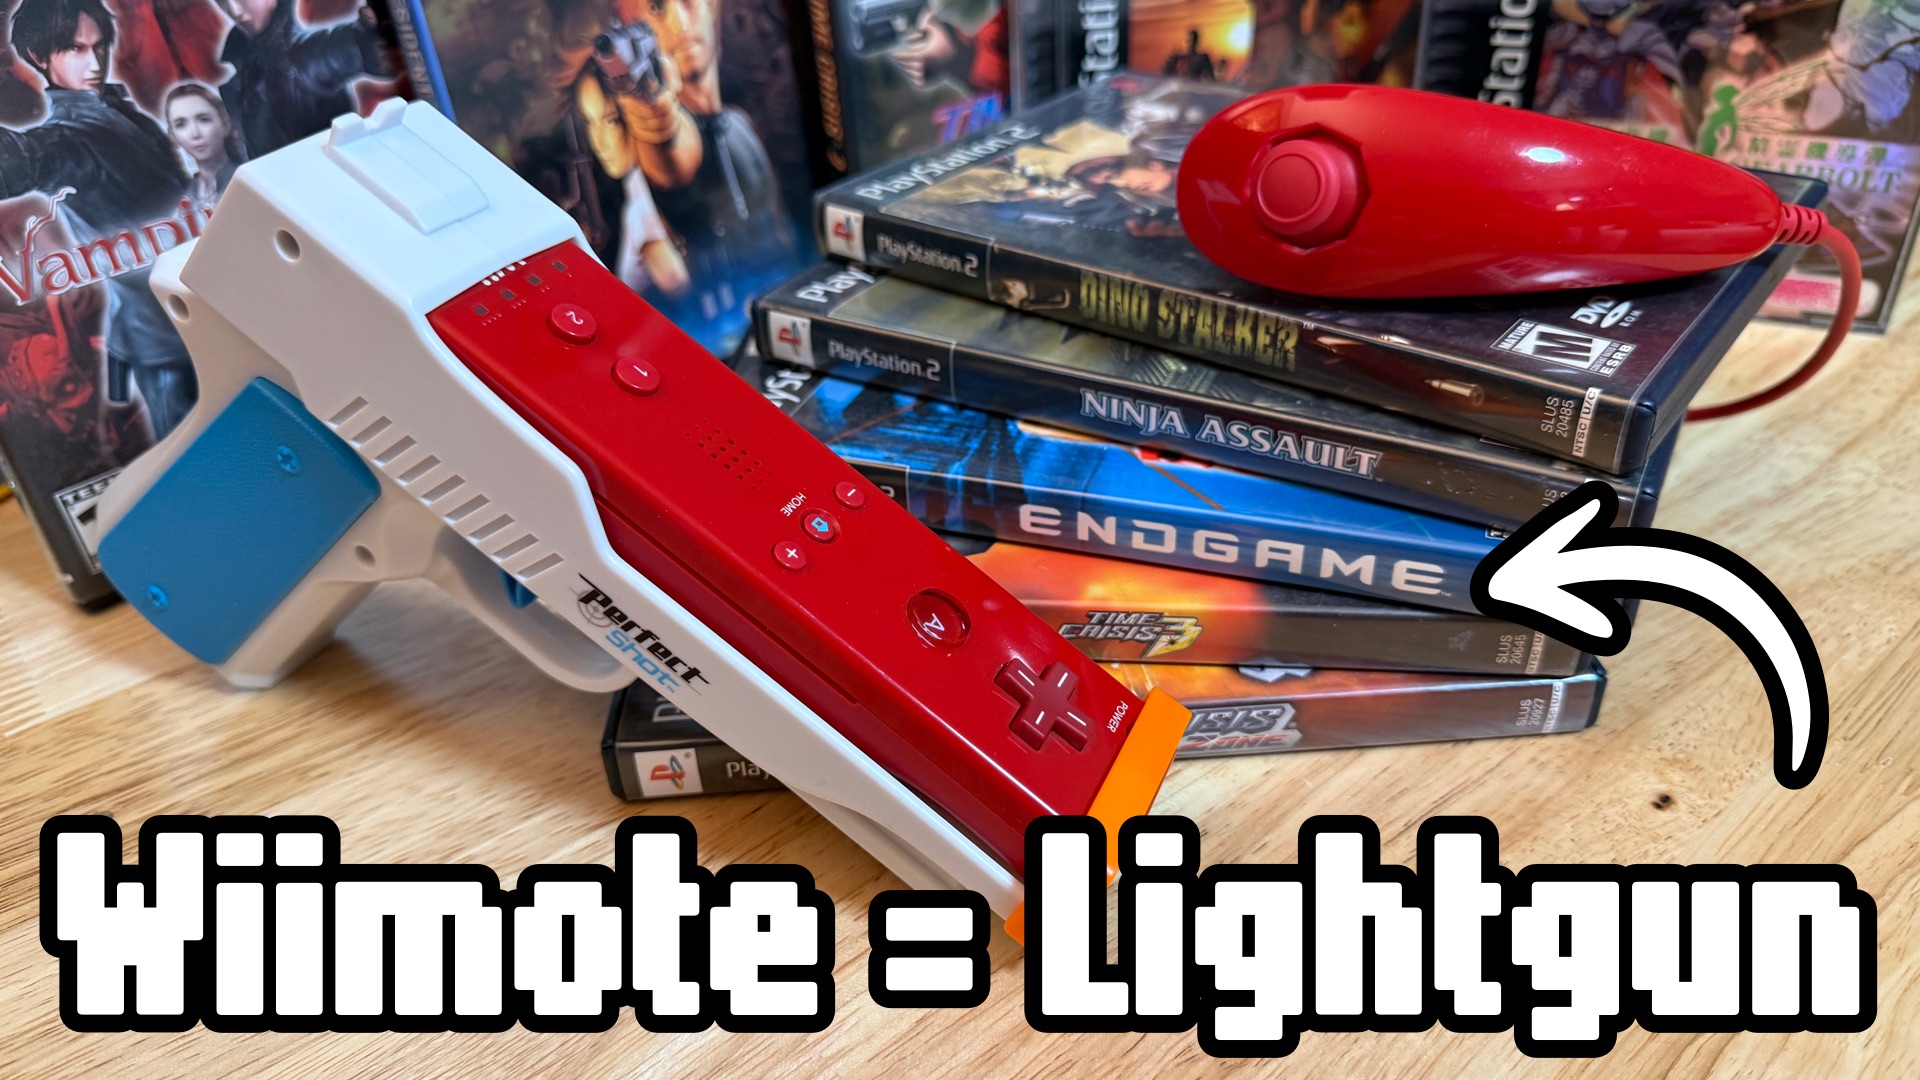
In PCSX2 and DuckStation, I replaced the mouse pointer with a custom cursor graphic making my Wii Remote work perfectly as a GunCon replacement!
The Set Up Process
This looks like a lot, but once set up you won’t have to do it again. I’m also covering PS1, PS2, and multiple controller profiles. Skip the profile and emulation setup you aren’t going to use.
Set Up the Dolphinbar
Dolphinbar is almost plug-n-play.
- Plug it into a USB port on your PC. The bar has to communicate the Wii Remote inputs.
- Attach it to the top, middle of your TV. (Or bottom if you want. Top worked best for me. I used some 3M Command Strips to attach it.)
- Set the position switch to match where you placed it. Top or Bottom.
- Press the Power button.
- To pair a Wii remote, push the pair button on both the Dolphinbar and the Wii remote. They should pair up quickly. The Dolphinbar pairing light will blink for a little while longer.
- Push the mode button on the Dolphinbar and put it in Mode 4.
Your Wii Remote should now be controlling the mouse pointer, but it’ll be jittery and you won’t be able to remap the buttons. Gunmote will fix this.


Set Up Gunmote
Download the latest version of Gunmote and install. Windows will warn you about it, but it’s OK to install. It’ll include additional driver installers.
Go to Settings and under Aim Configuration select your Sensor Mode. The Dolphinbar is a 2IR device. Select 2IR Top or 2IR Bottom depending on the placement of your Dolphinbar.
Then go to Wiimote Configuration. Select the Default (mouse) profile and make a few adjustments to match the list in this table.
| Wii Remote | Mouse/Keyboard Mapping |
|---|---|
| Pointer | Mouse |
| A | Left Shift |
| B | Mouse Left Button |
| Home | Escape |
| Left | Numpad Left |
| Right | Numpad Right |
| Up | Numpad Up |
| Down | Numpad Down |
| Plus (+) | 1 |
| Minus (-) | 5 |
| One (1) | Mouse Middle Button |
| Two (2) | Mouse Extra Button 1 |
| Shake | Disabled |
| Nunchuck | Mouse/Keyboard Mapping |
|---|---|
| C | Trigger |
| Z | Left Shift |
| Stick Up | Numpad Up |
| Stick Down | Numpad Down |
| Left Stick | Numpad Left |
| Right Stick | Numpad Right |


Calibrate Your Screen
To calibrate, press Home + Minus(-) on the Wii Remote to bring up the calibration screen. You can see the black box with the sensor bar’s position in it. This defines the boundaries of the cursor.
Follow the instructions on screen and shoot the areas where prompted. If the sensor lights are not in the black box, you are off screen. Adjust your distance to get your aiming correct.

It’s Not Gonna be Perfect
Gunmote isn’t perfect. It crashed a few times on me. With DuckStation, sometimes it’ll disconnect the Wii Remote over and over again. I found that starting Gunmote after you start PCSX2 or DuckStation fixes this.
Set Up PCSX2
Download and install PCSX2. Place your BIOS and ROM files in the right places. (You are on your own finding these. Check YouTube on how to get the emulator set up.)
Once it’s all working, create GunCon2 controller profiles. Go to Settings –> Controller and create a new profile. Name it what you want and begin assigning button mappings. You can create as many profiles as you like.
Because the Nunchuck lacks three buttons, I set up a few profiles for different games to work with two buttons.
To assign multiple buttons to the same GunCon2 mapping, you have to Shift + Click on the mapping button to get a screen to add multiple bindings.
Be sure to point the Wii Remote on screen for all buttons except for the off screen ones. The first column in the tables below is the GunCon2 buttons we are mapping. Second is the button you press on the Wii Remote to set. Third is the keyboard/mouse binding label you should see in PCSX2 once set. This matches the Gunmote binding you did earlier.
GunCon2 Default Profile
This works for most games.
| GunCon2 Mapping | Wii / Nunchuk Button | Mouse/Keyboard Label |
|---|---|---|
| Trigger | Wii B | Pointer-0 Left Button |
| Shoot (Off-screen) | Wii B (aim off screen) | Pointer-0 Right Button |
| Calibration Shot | Wii 2 | Pointer-0 Button4 |
| A Button | Nunchuck Z | Keyboard Shift |
| B Button | Wii 1 | Pointer-0 Middle Button |
| C Button | Nunchuk C | Keyboard Control |
| Start | Wii Plus (+) | Keyboard 1 |
| Select | Wii Minus (-) | Keyboard 5 |
| D-Pad | Nunchuk Stick | Keyboard directions |

GunCon2 Alt Profile
This is the same as the default except the B and C GunCon2 mappings are switched. (Helps with Resident Evil Survivor 2: Code Veronica)
| GunCon2 Mapping | Wii / Nunchuk Button | Mouse/Keyboard Label |
|---|---|---|
| Trigger | Wii B | Pointer-0 Left Button |
| Shoot (Off-screen) | Wii B (aim off screen) | Pointer-0 Right Button |
| Calibration Shot | Wii 2 | Pointer-0 Button4 |
| A Button | Nunchuck Z | Keyboard Shift |
| B Button | Nunchuk C | Keyboard Control |
| C Button | Wii 1 | Pointer-0 Middle Button |
| Start | Wii Plus (+) | Keyboard 1 |
| Select | Wii Minus (-) | Keyboard 5 |
| D-Pad | Nunchuk Stick | Keyboard directions |

GunCon2 Resident Evil Dead Aim Profile
This game has complex controls and needs its own profile. The Wii C button and shooting off screen are both mapped to the GunCon2 C button (reload).
| GunCon2 Mapping | Wii / Nunchuk Button | Mouse/Keyboard Label | Game Function |
|---|---|---|---|
| Trigger | Wii B | Pointer-0 Left Button | Shoot (in First-Person) / Enter First-Person Mode / Confirm |
| Shoot (Off-screen) | Wii B (aim off screen) | Pointer-0 Right Button | Reload weapon / Cancel |
| Calibration Shot | Wii 2 | Pointer-0 Button4 | Calibration screen bypass |
| A Button | Nunchuck Z | Keyboard Shift | Cautious move A / Pick up items / Search |
| B Button | Nunchuk C | Keyboard Control | Cautious move B / Pick up items / Search |
| C Button | Wii 1 | Pointer-0 Middle Button | Reload weapon / Cancel |
| Start | Wii Plus (+) | Keyboard 1 | Status Screen |
| Select | Wii Minus (-) | Keyboard 5 | Map Screen |
| D-Pad / Thumbcon | Nunchuk Analog Stick | Keyboard directions | Move forward/backward and rotate |
| D-Pad / Thumbcon double tap | Nunchuk Analog Stick | Keyboard directions | Quick-turn (180°) or Emergency Evasion |

Once you have your profile ready, you can load it from the controller settings or apply it from the Settings -> Controller menu in game.
Set Up DuckStation
Same as PCSX2 above but with DuckStation.
Once it’s all working, create a GunCon controller profile. Go to Settings –> Controller Presets and create a new profile. Name it what you want and begin assigning button mappings. You can create as many profiles as you like.
Be sure to point the Wii Remote on screen for all buttons except for the off screen ones. The first column in the table is the GunCon2 buttons. Second is the button you press to set. Third is the keyboard/mouse binding label you should see in DuckStation once set. This matches the Gunmote binding you did earlier.
To set trigger bindings you have to Shift + Click on the mapping button to get a screen to add them. Not sure why. Button bindings work as usual.
GunCon Profile
The GunCon has fewer buttons, so this is much simpler to set up.
| GunCon Mapping | Wii / Nunchuk Button | Mouse/Keyboard Label |
|---|---|---|
| Trigger | Wii B | Pointer-0 Left Button |
| Shoot (Off-screen) | Wii B (aim off screen) | Pointer-0 Right Button |
| A Button | Nunchuck Z | Keyboard Left Shift |
| B Button | Nunchuck C | Keyboard Left Control |

Custom Cursors
The last step is to replace the Windows mouse pointer with a custom crosshair cursor. You can use any .png you like.
To add a custom cursor, have your image ready and on each GunCon or GunCon2 profile, go to the Settings tab, set your Crosshair Image Path to your graphic, and then adjust the Crosshair Image Scale to your liking. (I used 50%.) This works the same way in both PCSX2 and DuckStation.

Tested PS2 GunCon2 Games
I’ve tested out these GunCon2 games and they all seem to work with the Wii Remote.
- Crisis Zone
- Dino Stalker
- Endgame
- Ninja Assault
- Resident Evil: Dead Aim
- Resident Evil Survivor 2 Code: Veronica
- Time Crisis II
- Time Crisis 3
- Vampire Night
Tested PS1 GunCon Games
- Elemental Gearbolt
- Point Blank
- Point Blank 2
- Point Blank 3
- Resident Evil Survivor (Japan and PAL only)
- Time Crisis
- Time Crisis: Project Titan
The Negatives
This setup works pretty well, but like emulation, it’s not 100% accurate. The gun tracking has a little lag to it and sometimes the target alignment with the mouse pointer will drift a bit towards the edges. Even the more expensive Sinden Light Gun has the same problem.
You can improve mouse pointer accuracy by adjusting Windows mouse settings. Speeding up the mouse movement and turning off “Enhance pointer precision” will keep things snappy.
This setup is fairly accurate and definitely playable, but if you want an authentic experience (and have all the stuff), original hardware, a GunCon, and a CRT are the way to go.
The GunCon2 Experience on a Flat Screen TV
Once everything is set up correctly, you’ll have the PS2 arcade light gun experience on the big screen. Grab your favorite Wii Remote gun accessory and start zapping!


Start the conversation